A Comprehensive Guide to Capturing Stunning Photos of Joshua Tree
Joshua Tree is a mecca for photographers, nature lovers, and adventurers alike. With its unique rock formations, sprawling desert landscape, and stark blue skies, it’s not surprising that Joshua Tree National Park is a popular photography destination.
Whether you’re an amateur photographer or a seasoned pro, capturing the beauty of Joshua Tree can be a daunting task. But fear not; with these expert photography tips, you’ll be well on your way to taking stunning photos that capture the essence of this iconic landscape.
Gear Up!
Before you hit the road, it’s essential to ensure that you have the right gear. Here are some recommended equipment and accessories for photographing Joshua Tree:
- Camera: A DSLR or mirrorless camera will provide better control and quality.
- Lenses: Wide-angle lenses are ideal for capturing the vast desert landscape. Telephoto lenses are great for capturing wildlife and close-up shots of rock formations.
- Tripod: A sturdy tripod is a must-have for taking long-exposure shots or capturing shots during low-light conditions.
- Filters: Polarizing filters help reduce glare and deepen the blue tones of the sky. Neutral Density (ND) filters are useful for balancing the exposure of the sky and the foreground.
- Remote shutter release: This accessory helps reduce camera shake during long exposures.
Timing is Everything
Timing is everything when it comes to photography, and capturing the right light is critical to creating stunning images. In the case of Joshua Tree, the best time of day to shoot is during the “golden hour.” This is usually during the first hour after sunrise or the last hour before sunset when the sun is low in the sky and creates a warm, golden light with long shadows. During this time, the landscape of Joshua Tree is transformed into a paradise of color, texture, and contrast.
If you’re not an early riser, don’t worry; you can also capture beautiful photos during the blue hour. The blue hour is the brief period just after sunset, where the sky takes on a rich, deep blue hue with a touch of pink or orange on the horizon. This time of day creates a dreamy atmosphere and is perfect for taking landscape photos.
It’s also essential to consider the time of year when planning a photography trip to Joshua Tree. During the winter months, the weather is cooler, the sky is clearer, and the crowds are fewer, making it a great time to capture stunning images. However, bear in mind that some campsites, trails, and roads may be closed during this time, so plan accordingly.
In the summer months, Joshua Tree can get extremely hot, making it a challenging time to take photos outdoors. The midday sun is harsh and creates harsh shadows and washed-out colors. Additionally, summer months tend to generate thunderstorms and rain, making it a more challenging time to take photos.

Location, Location, Location
Joshua Tree is vast, and choosing the perfect location can be overwhelming. Here are some recommended spots that are popular among photographers:
- Arch Rock: Located in the White Tank campground area, Arch Rock is a picturesque rock formation that presents a unique opportunity for wide-angle landscape photography.
- Key’s View: On a clear day, Key’s View, located in the center of the park, offers a stunning panoramic view of the Coachella Valley and the San Andreas Faultline.
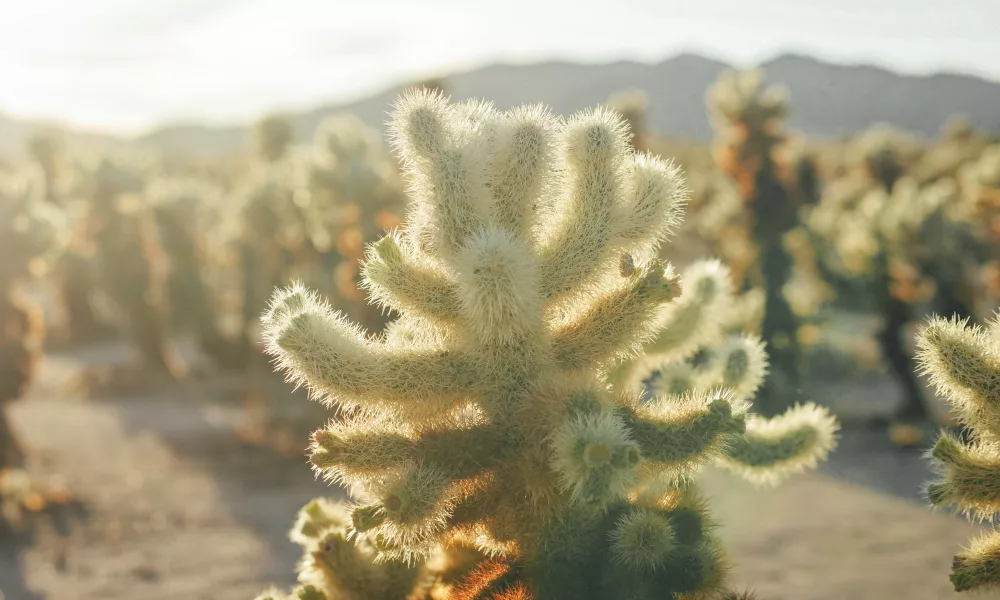
- Cholla Cactus Garden: This location is a must-visit for close-up shots of the iconic cholla cactus, which is commonly found in the Sonoran and Mojave deserts.
- Skull Rock: As previously mentioned, Skull Rock is an iconic rock formation and a popular photography spot located off Jumbo Rocks Campground Road.
- Barker Dam: This location is ideal for capturing shots of the wildlife and desert flora, including the iconic Joshua Tree.
Setting Up The Shot
When setting up your shot in Joshua Tree, it’s important to be deliberate and creative. One way to do this is by using leading lines. These lines can be a great tool to guide the viewer’s eye towards the subject and create a sense of depth in the image. Try using a rock formation, a tree, or even a road to create leading lines that lead to your main subject.
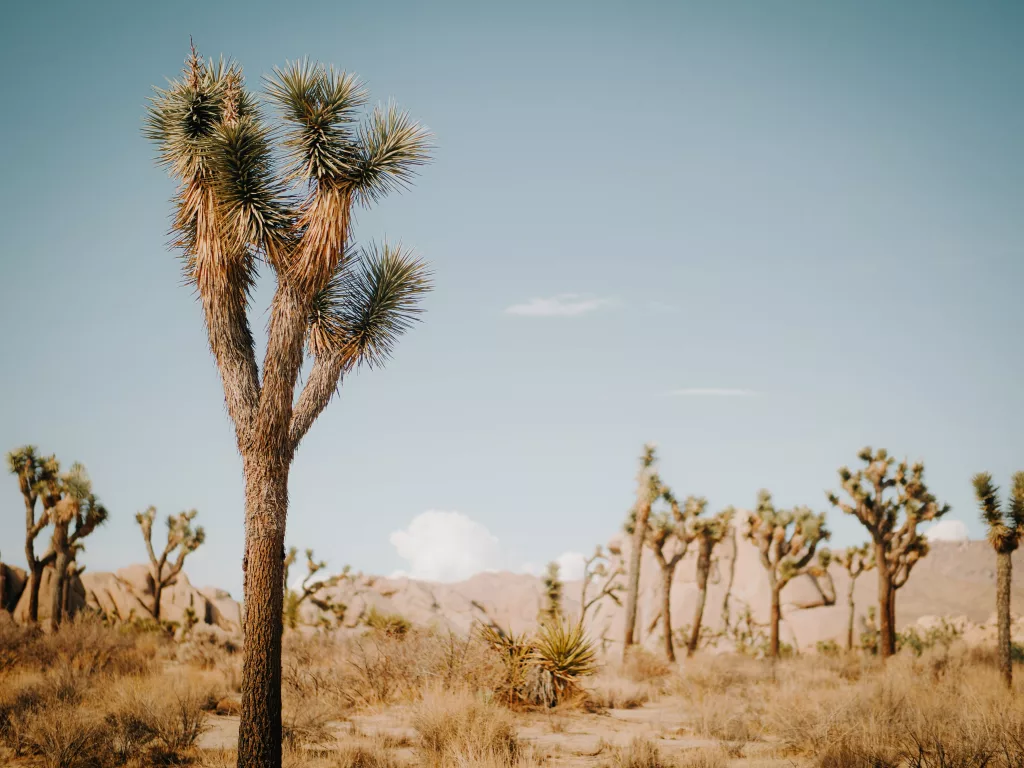
Composition is another key element to consider when setting up your shot. The rule of thirds is a great guideline to use when framing your subject off-center to create visual interest. Another way to create an interesting composition is by capturing the essence of the environment and the subject’s relationship to it. For example, you can try shooting a Joshua Tree against a backdrop of other desert vegetation to showcase how it interacts with its environment.
The rule of thirds in photography is like having a “tic-tac-toe” grid over your image where you place the subject at one of the four intersection points, creating a dynamic and visually interesting composition.
Don’t be afraid to experiment with angles when setting up your shot. Sometimes getting down low to the ground can create a unique perspective and add interest to your image. Alternatively, shooting from a high vantage point can give you a different view of the landscape and help you capture the scale of the natural formations.
Lastly, bracketing is a technique that can help you capture the full dynamic range of the scene, especially when dealing with high contrast scenes. This technique involves taking multiple shots of the same scene at different exposures and blending them together during post-processing. This will ensure that you capture more detail in the highlights and shadows, producing a well-balanced image.
Remember, these techniques can help you create more striking and memorable images of Joshua Tree. Experiment with them and have fun while capturing the natural beauty of this incredible destination.

Post-Processing
After capturing some fantastic shots, it’s essential to fine-tune your images during post-processing. Here are some tips to enhance your images:
- Adjust white balance: Color temperature can change the mood of your images. Experiment with the temperature and tint in your editing software for the desired effect.
- Enhance contrast: Adding contrast to your images can make them pop. Be sure not to overdo it and lose details in the highlights and shadows.
- Adjust saturation: Saturation affects color intensity. Fine-tune the saturation levels of your images to your liking.
Conclusion
With these expert photography tips, you’ll be well on your way to capturing stunning photos of Joshua Tree’s natural beauty. Remember to gear up, capture the light, choose the right location, and fine-tune your shots during post-processing. With dedication, patience, and practice, you’ll create a portfolio of photos that will bring back memories of your visit to Joshua Tree for years to come.


